Saturday, July 26, 2014

Snickerdoodle Bars


I. ate.. every... last.... crumb...almost.  It was that good.

Earlier...


Yet earlier...


Today's post...


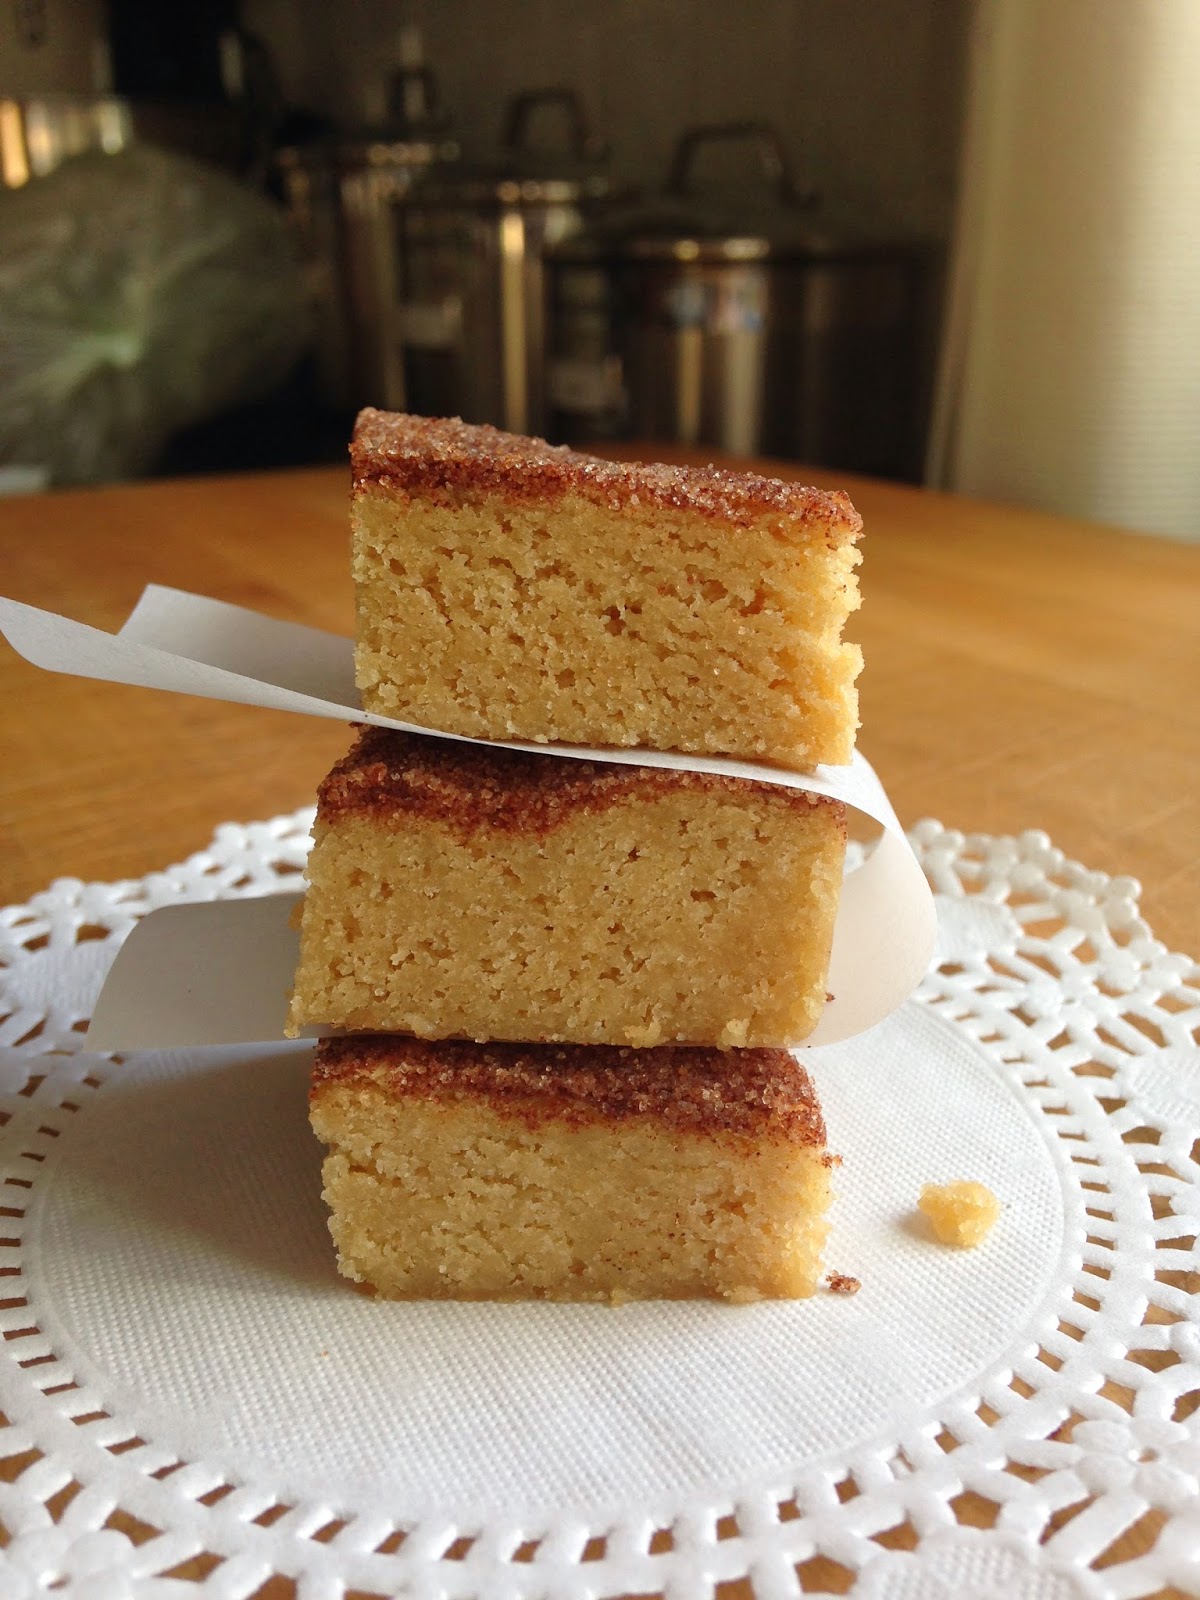
In contrast to my last post, today I return to golden brown.  What I want to share is a super delish riff on the vintage Snickerdoodle Cookie.  Remember that round, tender, and cinnamon-y-tasting treat of yesteryear?  No? Well, that just means you may be under 30!  Great!  Allow me to introduce you to Snickerdoodle Bars.

Back in the dark ages,  I remember using the Snickerdoodle Cookie recipe from my mother's Betty Crocker cookbook.  But that was then... And a few years back, a number of food bloggers offered a retake on the Snickerdoodle cookie. Guess what?  I took notice!  It is tough to surpass these lovely bars with their pillow-y, soft interior and crispy, thin cinnamon sugar topping.  And they offer other advantages too!

Once the dough is mixed, making these bars eliminates quite a bit of time  You no longer need to roll individual cookies, cover them individually in the cinnamon sugar mix, and place them individually on the cookie sheet. And, you don't have to repeat this process on a second baking sheet because the yield is dozens.  Consider placing all the prepared dough into a 9 x 13 baking pan, sprinkling with the cinnamon/sugar mix, and baking once.  Couldn't be simpler, right?  And let me assure you that the taste and texture is still there... perhaps a bit more cake-y and a lot richer in flavor.  My kind of bar!

Notes:

1.  Of course, I use self-rising flour, but if you prefer to use regular all-purpose flour, look at the mentor recipe link.
2. Some days it takes more will-power than I have to control my sweet tooth.  So, doubling the cinnamon sugar topping mixture makes the bars even more amazing.  If you are cutting back on your sugar ingestion, then maybe you will reconsider the doubling effect...but, then again... you only live once!
3.  I used a stand mixer, but using a hand-held mixer and a large bowl would work :)
4.  Bars can be cut easily into different shapes.  Notice my triangles and squares.
5.  Yield will be dependent upon the size/shape of your cutting.
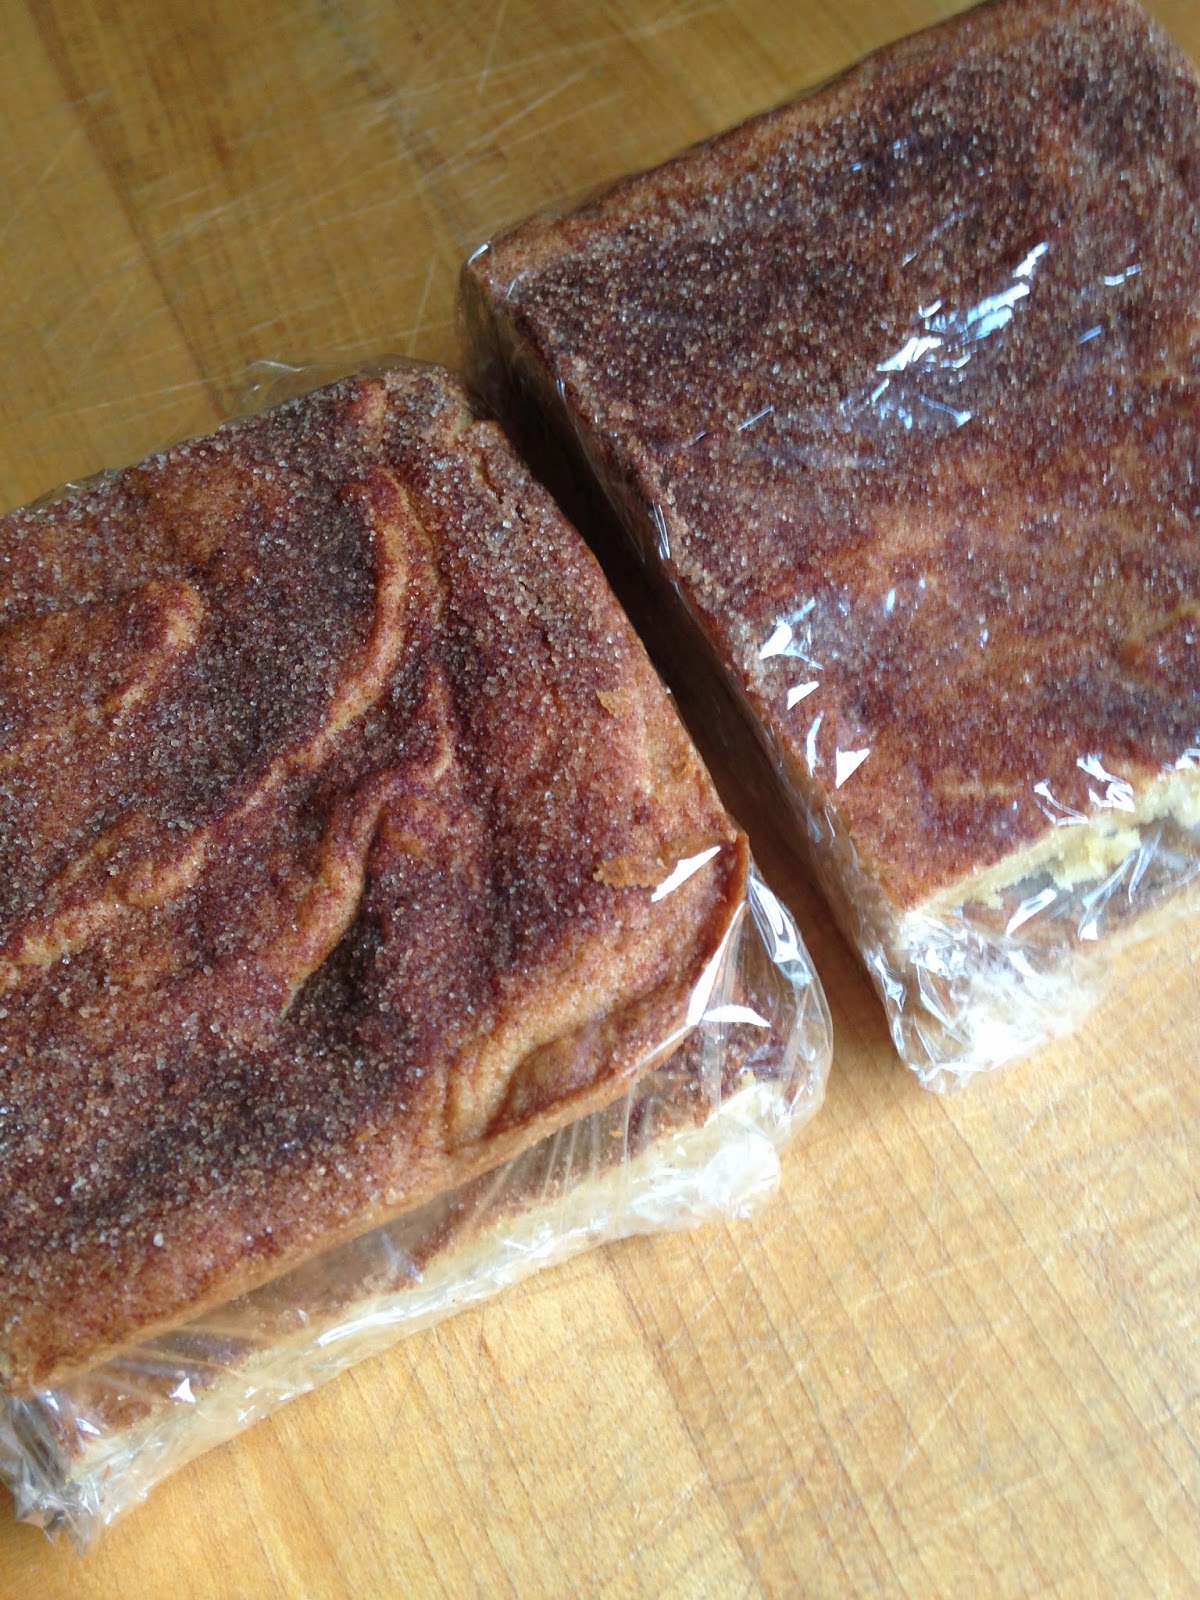
6.  These are freezer friendly.  Cut them into manageable sizes, plastic wrap them, place them into zip-lock bags, and pop them into your freezer.  They will be there when you need a quick dessert.


Snickerdoodle Bars
adapted from here
Yield:  One 9" x 13" baking pan

Bars:
2 and 2/3 cups self-rising flour
1 teaspoon salt, optional
2 cups packed brown sugar (light or dark)
1 cup butter, at room temperature (2 sticks)
2 eggs, at room temperature
1 tablespoon vanilla extract

Topping:
4 tablespoons white sugar
4 teaspoons cinnamon

Directions

1.  Preheat oven to 350º F.  Lightly grease a 9" x 13" baking pan.  I used a glass pan.


2.  In your mixer, beat together the butter, brown sugar, eggs, and vanilla until smooth.
3.  Add in the self-rising flour and salt (if using) in small amounts (so you avoid a flour eruption) and mix until well combined.


4.  Spread the batter into the prepared pan.  It will have the consistency of cookie dough.
5.  Combine the white sugar and cinnamon in a small bowl.  Evenly sprinkle the mixture over the top of the batter.


6.  Bake for 25-30 minutes or until toothpick inserted into the cake is removed with no batter.


7.  Cool (yes they are).
8.  Bars can be cut while cake is still warm.


Thursday, July 10, 2014

Summertime Cobb Gazpacho


I guess you could say that much of what I share on this blog is somewhat lacking in color...does golden ring a bell?  But sometimes that's the deal with baked items, unless of course you garnish with sprinkles, dried fruit, or colorful icing.  If you were profiling Kitchenality, it would be totally accurate to suggest that I love tasty, texture-forward, bite-sized confections (lots of them)... and yet, honestly, where's the color?

Today I distance myself from that assessment and suggest that you come along with me.  This post speaks to those of you who love color!  Yes, you know who you are... you who pop with colorful clothing, tote colorful bags, slip color onto your feet, paint your nails with sparkly color, and text on colorful devices.  Today I join you as I step away from the reverie of confection and golden brown.

Gazpacho is an easy soup to make, a super summer addition to your meal planning, and allows for considerable imagination in its preparation.  All hot weather players (tomatoes, cucumbers, peppers, squash, citrus, etc.) join to become something special, something better than their combined offering...yes, it's a summertime gestalt!  And because the soup is uncooked, the raw freshness is a gift to your palate.

Gazpacho can be processed into a smoothie-like consistency; however, this Summertime Cobb Gazpacho presents with taste, texture, and pops of color.  My mentor recipe comes from the Moosewood Cookbook, a beautifully compiled, illustrated, and hand-lettered recipe collection by Mollie Katzen.

Notes

1.  I decided to make this soup, but noticed that my tomatoes were not ripe.  So my major change to this recipe was to use a 28-ounce can of whole plum tomatoes in puree.  I plucked out the tomatoes, gave them a little squeeze to release juices back into the can, and then gave them a rough cut.  I used all the tomatoes in the can.
2.  The leftover puree and juices were used in place of the tomato juice called for in the recipe.
3.  The Katzen recipe is a great guide which means that you should play around a bit with it, depending on what fresh vegetables (and, yes, fruits) you have.
4.  I had a very tired peach the day I prepared this soup.  Yep, in it went!
5.  I served this as the main course for dinner.  Must haves:  Chewy bread and/or taco chips for dunking, wiping, etc.
6.  The visual appeal of this recipe is the color from the chopped ingredients amidst the tomato-y red background.  You could combine and process all of the ingredients, but resist.  You will enjoy feasting with your eyes too!

Summertime Cobb Gazpacho
adapted from Molly Katzen's recipe
Yield:  6-8 servings

1 28-ounce can of whole plum tomatoes in puree
Leftover tomato puree and juices from above
1 small, finely chopped onion
1 cup finely chopped green pepper
1/2 cup chopped yellow squash
1 ripe peach, chopped
1 teaspoon honey
1 clove garlic, crushed
1 cucumber, peeled and diced
2-3 scallions, chopped
Juice of 1/2 lemon and 1 lime
2 tablespoons vinegar (I used red wine)
1 teaspoon each of tarragon and basil
Dash of ground cumin
1/4 cup parsley, freshly chopped
Dash of hot sauce
2 tablespoons olive oil
Salt and pepper to taste

Directions

1.  Find a large glass or ceramic bowl.  This will double as the bowl for combining all your ingredients AND as the bowl for serving.  (You are already liking this recipe, right?)
2.  The process of preparing the soup (chopping, crushing, dicing, and juicing) can be a calming task.  Be mindful and enjoy the simplicity of your actions.  You will be rewarded.
3.  All prepared ingredients go into the bowl.


4.  Mix to combine, cover, and chill for at least 2 hours.
5.  Serve with bread or chips.  Stand back and accept compliments.  Great job!
6.  Any leftover soup can be covered and returned to the refrigerator.