I know. I can see you rolling your eyes heavenward...how did the word best get such a rotten reputation? But hear me out. I only want to suggest that you try this recipe...someday. It's no-fail. It's outrageously delicious. While cooling, this crunchy cookie has warm and gooey spots. But if you let the cookies cool overnight, the chocolate chips re-crunchify and that is a textural bonus. The addition of raisins to the mix is a culinary miracle...the sweet tang of raisins supports that chocolate-y chip taste as you chew. Furthermore (and maybe supportive of the word best), they look amazing! Okay... those are my opening arguments... positive and yes, one point of view.
Perhaps I make a better case for these cookies if I share what they are not. They are not just chocolate chips mixed into cookie dough. They are not flat when they come out of the oven. They are not from a recipe that you will make once and then move on to the next chocolate chip recipe. They are not one predominant color or one predominant taste, if you get my drift.
I have made these cookies for many years, and have yet to find a possible contender for this post's title...until recently (more below).
Notes
1. My mentor recipe is from Cristina Ferrare. If you connect to the link, you will notice that her yield is just 2 dozen cookies. I realize that they are golf-ball sized when placed onto the baking sheet, but I prefer smaller, pop'em-in-your-mouth-sized sweets.
2. Even so, I have always cut her recipe in half, and the yield is approximately 7 dozen (yep, 84+ small cookies)! Enough to eat, freeze, and give away :)
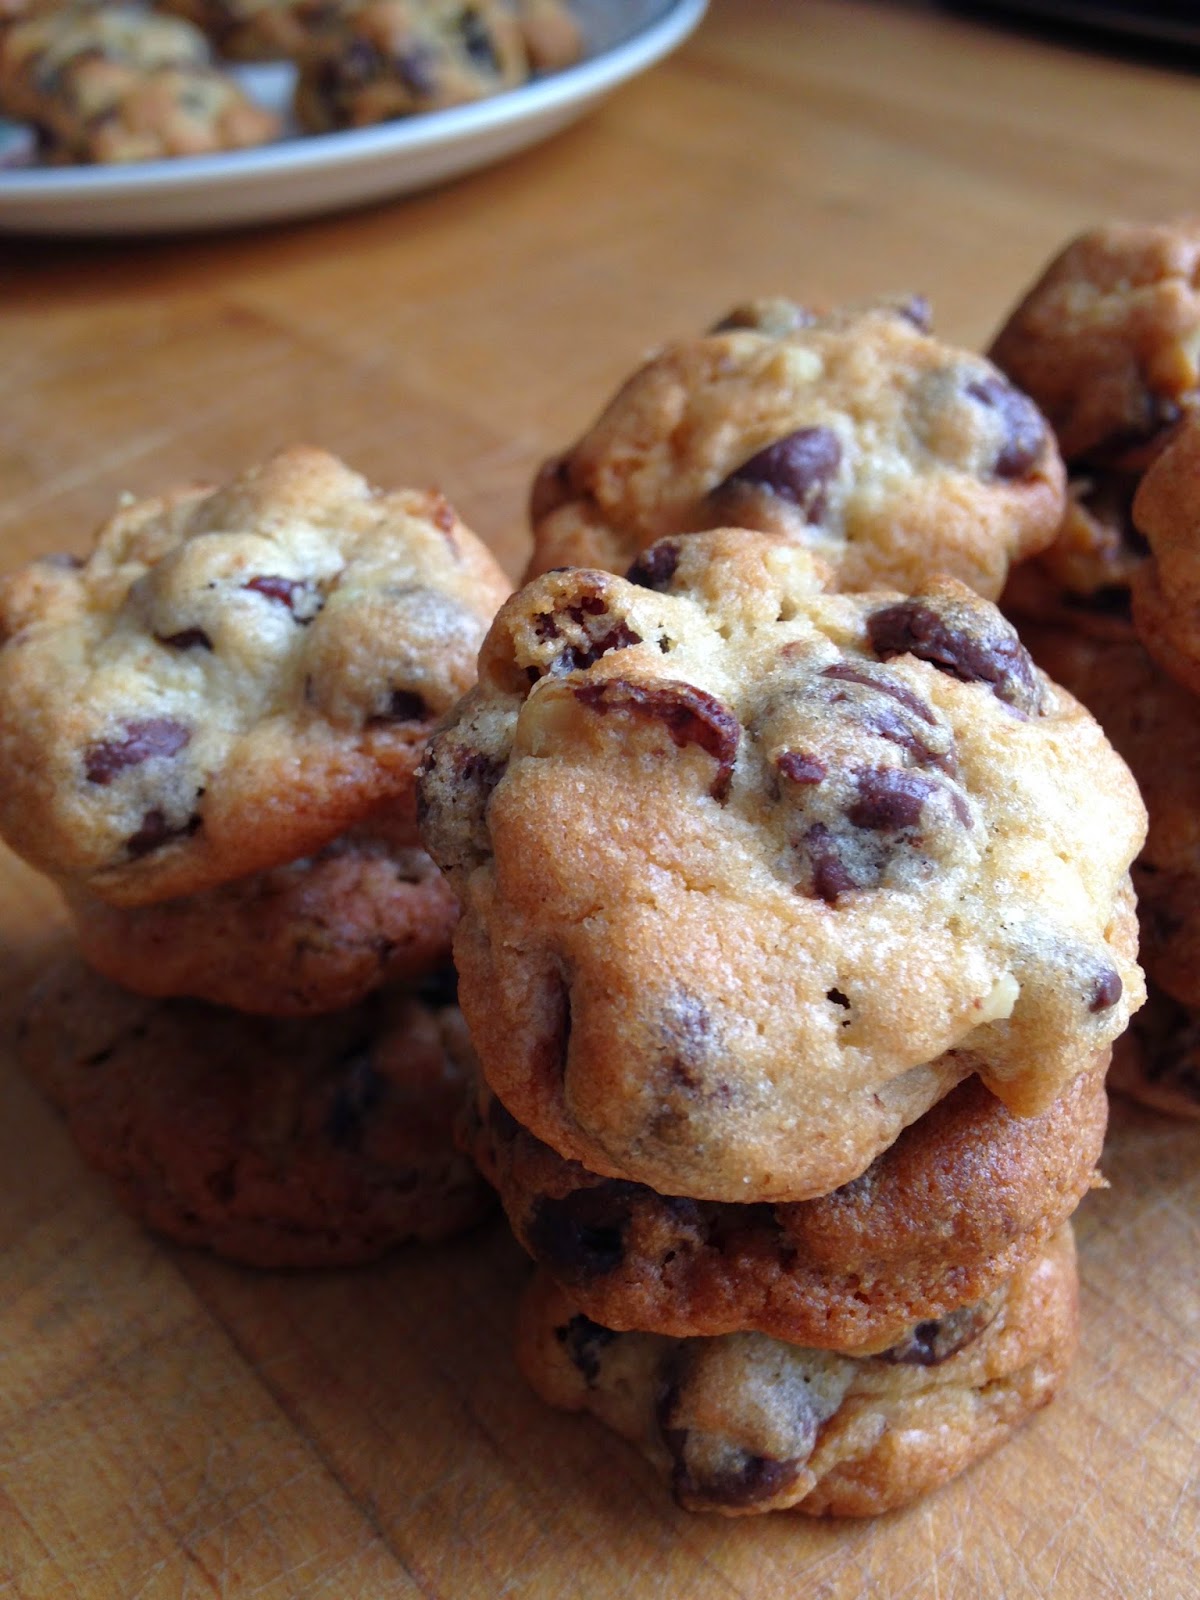
3. The size of the cookies I bake are about 1-inch in diameter.
4. I bake these cookies at 350º F for 10 minutes or so.
5. Not a raisin lover? Substitute other dried fruit if you'd like (cherries, cranberries, etc.) or just leave the raisins out.
6. I recently found an interesting contender recipe from Christina Tosi, the owner and chef at Momofuku Milk Bar. Her secret? She adds a couple tablespoons of powdered milk which she claims adds a chewy texture to the cookies. You've got my attention, Christina. Stay tuned...

(One of the) Best Chocolate Chip Cookies Around
1 and 1/8 cups self-rising flour
1 stick salted butter, room temperature
1/2 cup brown sugar, firmly packed
1/4 cup white sugar
1/2 tsp. vanilla extract
1 egg, room temperature
2 cups semi-sweet chocolate chips
1/2 cup raisins
3/4 cup chopped walnuts or pecans
Directions
1. Preheat oven to 350º F when ready to bake.
2. In an electric mixer, beat the butter, brown sugar, and white sugar until fluffy (a couple minutes).
3. Beat in the egg until well incorporated. Scrape down sides with a spatula as necessary.
4. Add vanilla. Mix.
5. Add the flour and mix until well-blended. Scrape down sides.
6. Add the chocolate chips, then nuts, and then raisins, mixing until combined.
7. At this point, the cookie dough needs to be chilled. Chilled dough will be easier to form and will help retain the cookie shape during baking (they won't flatten). I cut the dough in half, wrapped each in saran, and put them in the refrigerator for an hour (or longer). Often I bake off half of the cookies on one day and the other half the next.

8. When ready to bake, set oven to preheat, remove cookie dough from the refrigerator, and unwrap. Using a spoon, break off small chunks and form into balls about 1-inch in diameter. Place on a baking sheet that's been lined with a Silpat or parchment paper. They will not spread much. I can get 35 cookies on a 13 x 15 inch cookie sheet.

9. In the past, I have sprinkled sea salt on the tops of the cookies before baking. You may want to do this. I just forgot here.
10. Bake for 10 minutes or until they are golden brown around the edges and showing some color on top.
11. Remove from oven and place sheet on cooling rack for 10 minutes. (While the cookies are cooling, you could be rolling cookie balls for the next batch.) Then remove baked cookies to another surface (I normally use a dinner plate) to fully cool.
12. For the next batch, place cookie balls on the sheet (no need to change your parchment paper), and place into oven. Repeat steps 10 and 11 above.
13. Eat, freeze, share!

Notes
1. My mentor recipe is from Cristina Ferrare. If you connect to the link, you will notice that her yield is just 2 dozen cookies. I realize that they are golf-ball sized when placed onto the baking sheet, but I prefer smaller, pop'em-in-your-mouth-sized sweets.
2. Even so, I have always cut her recipe in half, and the yield is approximately 7 dozen (yep, 84+ small cookies)! Enough to eat, freeze, and give away :)
3. The size of the cookies I bake are about 1-inch in diameter.
4. I bake these cookies at 350º F for 10 minutes or so.
5. Not a raisin lover? Substitute other dried fruit if you'd like (cherries, cranberries, etc.) or just leave the raisins out.
6. I recently found an interesting contender recipe from Christina Tosi, the owner and chef at Momofuku Milk Bar. Her secret? She adds a couple tablespoons of powdered milk which she claims adds a chewy texture to the cookies. You've got my attention, Christina. Stay tuned...
(One of the) Best Chocolate Chip Cookies Around
1 and 1/8 cups self-rising flour
1 stick salted butter, room temperature
1/2 cup brown sugar, firmly packed
1/4 cup white sugar
1/2 tsp. vanilla extract
1 egg, room temperature
2 cups semi-sweet chocolate chips
1/2 cup raisins
3/4 cup chopped walnuts or pecans
Directions
1. Preheat oven to 350º F when ready to bake.
2. In an electric mixer, beat the butter, brown sugar, and white sugar until fluffy (a couple minutes).
3. Beat in the egg until well incorporated. Scrape down sides with a spatula as necessary.
4. Add vanilla. Mix.
5. Add the flour and mix until well-blended. Scrape down sides.
6. Add the chocolate chips, then nuts, and then raisins, mixing until combined.
7. At this point, the cookie dough needs to be chilled. Chilled dough will be easier to form and will help retain the cookie shape during baking (they won't flatten). I cut the dough in half, wrapped each in saran, and put them in the refrigerator for an hour (or longer). Often I bake off half of the cookies on one day and the other half the next.
8. When ready to bake, set oven to preheat, remove cookie dough from the refrigerator, and unwrap. Using a spoon, break off small chunks and form into balls about 1-inch in diameter. Place on a baking sheet that's been lined with a Silpat or parchment paper. They will not spread much. I can get 35 cookies on a 13 x 15 inch cookie sheet.
9. In the past, I have sprinkled sea salt on the tops of the cookies before baking. You may want to do this. I just forgot here.
10. Bake for 10 minutes or until they are golden brown around the edges and showing some color on top.
11. Remove from oven and place sheet on cooling rack for 10 minutes. (While the cookies are cooling, you could be rolling cookie balls for the next batch.) Then remove baked cookies to another surface (I normally use a dinner plate) to fully cool.
12. For the next batch, place cookie balls on the sheet (no need to change your parchment paper), and place into oven. Repeat steps 10 and 11 above.
13. Eat, freeze, share!


